Planting a garden is a powerful act. It gives each of us with access to a little dirt the power to feed ourselves healthy food, as well as something we can do about the threat of climate change.
Plants are the ultimate and cheapest way to suck excess carbon dioxide out of the air. Almost all atmospheric carbon passes through plants during photosynthesis, the process that turns carbon, sunlight, and water into sugars and carbohydrates. Plant roots release carbon-rich sugars that feed organisms in the soil. In exchange, these critters make nutrients in the soil available to the plant. As plants die back each winter, they drop leaves and branches and even the roots die off. Over time this debris decomposes, adding even more nutrients and carbon to the soil.
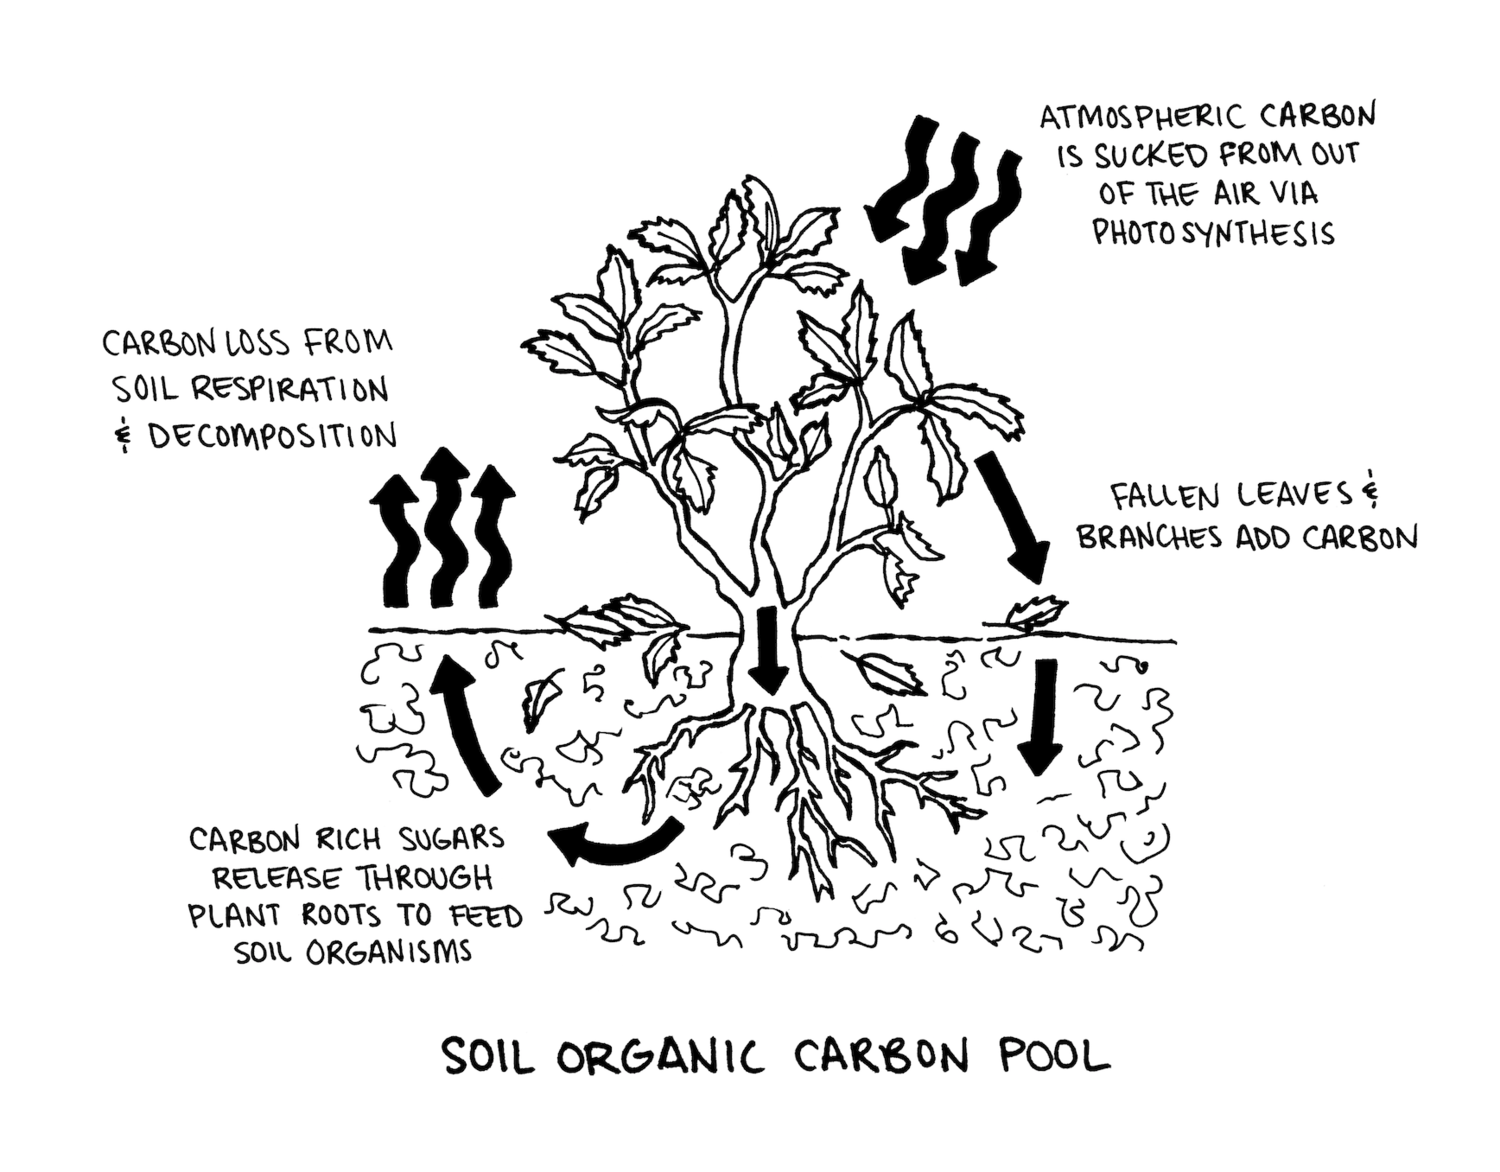
Illustration by Krishna Chavda
This ability to capture greenhouse gases is why many experts believe regenerative agriculture, also known as carbon farming, could play an important role in fighting climate change. The Rodale Institute estimates we could sequester more than 100 percent of annual carbon dioxide emissions worldwide if we switch to regenerative agriculture techniques to grow our food. Cultivating even a little patch of soil, in pots or in your backyard, matters. Eric Toensmeier, author of the Carbon Farming Solution estimates that his own tiny carbon-rich backyard garden, about a tenth of an acre, can offset the carbon emissions of one American adult per year.
Experts agree more research is needed to understand the full potential of regenerative growing but there’s no question that even a small increase in soil carbon can improve crop resilience, reduce chemical use, conserve water, and offset greenhouse gas emissions. Just as exciting, it’s pretty easy to build rich soil. Your location, and the amount of space and time you have are important variables in successful gardening. But the regenerative basics stay the same.
Here’s what it takes to start your own soil-building garden.
STEP ONE: TEST YOUR SOIL
Taking measure of your soil’s acidity and nutrient levels can get you off to the right start. A quick test can signal, for instance, whether you need to pile on more compost or other fertilizers, or loosen compacted soil. I’ve built testing into my annual routine and recommend that you do, too, because it’s an easy way to monitor the health of your soil. Most state universities can test your soil inexpensively and give you a detailed profile that includes pH and nutrient levels. That said, testing the quality of your soil isn’t absolutely necessary for regenerative gardeners given you’ll be treating it with a healthy dose of compost and mulch every year. And if getting a test stands in the way of you getting started on your own garden, don’t bother.
STEP TWO: BUILD PERMANENT BEDS
The hardest practice for me to adopt on my way to becoming a regenerative grower was low-till farming. Running a big metal rototiller through dirt is a really efficient way to break up weeds and grass and dig seed furrows. Unfortunately, this machine also breaks apart the soil’s natural structure and the living soil community that works so hard to nourish plants.
Instead, I’ve learned to grow plants on permanent raised beds made from layers of cardboard or newspaper, leaves, grass clippings, compost, and any other organic material you can get your hands on. With permanent beds, you can leave soil organisms alone so they can go about their lives, breaking down organic matter, recycling nutrients, and aerating the soil. The structure they give the soil makes for good drainage, wicking away excess water in the winter and spring so roots don’t rot while keeping soil moist but not soggy in the summer.
I recognize that not everyone has the space or the interest in building a raised bed. No worries, there’s another way to prepare your planting area: add more soil. Shovel on soil from anywhere in your yard, as long as you’ve first removed all the weeds. If your yard is too weedy or hard to dig up, or just not all that big, buy a few bags of soil from your local garden center. Make sure any soil you buy is clear of debris. I mention this because poor-quality leftover construction fill is sometimes rebranded as garden soil. Add enough soil so the bed is three to eight inches high. Any higher and you run the risk of having soil wash away during big storms or intense rainfall. Plus, it may dry out more quickly.
Maybe you don’t have a yard? An excellent way to get your hands dirty is to sign up for a community garden, offer to help in someone else’s garden, or look for a garden to share on SharedEarth.com. If those don’t work, you can grow in containers set out on a balcony or porch.
Container growing is easy as long as you pick the right size and start off with good soil. The bigger the pot the better because rootbound or crowded plants don’t weather outdoor temperature swings well and typically need more tending. I like to fill my containers with homemade potting soil that’s a mix of equal parts peat moss or coconut fiber, good garden soil, compost, and sand. You can also buy potting soil from a garden store. Look for potting soil that is 100 percent organic and, if you can find it, inoculated with mycorrhizae, a fungus that works with plant roots to absorb more nutrients.
STEP THREE: MIX IN PERENNIAL FOODS
Artichokes, asparagus, rhubarb, strawberries and garlic. These are all examples of perennial foods, which are hardier than annuals and marry well with regenerative goals. Any plant can be grown using a soil-first approach, and be tastier and more resilient for it. But perennials are a great choice because they require minimal to no soil disturbance and can stick around for many years.

Raspberries are among my favorite perennials because they make a beautiful natural border against pests and ripen early in the spring.
One reason they do so well is because they’re anchored by extensive root systems that help them find water and nutrients deep in the soil. Deep roots also give these plants staying power when they’re buffeted by heavy winds, rains, and snow. Having the same plants in place for years makes it easier for all the soil-enriching organisms—the bacteria, fungi, and bugs—to gather and multiply.
More than 100 different varieties of edible perennial vegetables and fruits grow well in North America.
STEP FOUR: COMPOST AND MULCH
Regenerative gardening is unique in how much emphasis it puts on soil health. Improving your soil by adding compost and mulch, which you can make yourself or buy from a garden supply store, means your garden won’t need as much water, pest management, or other caretaking.
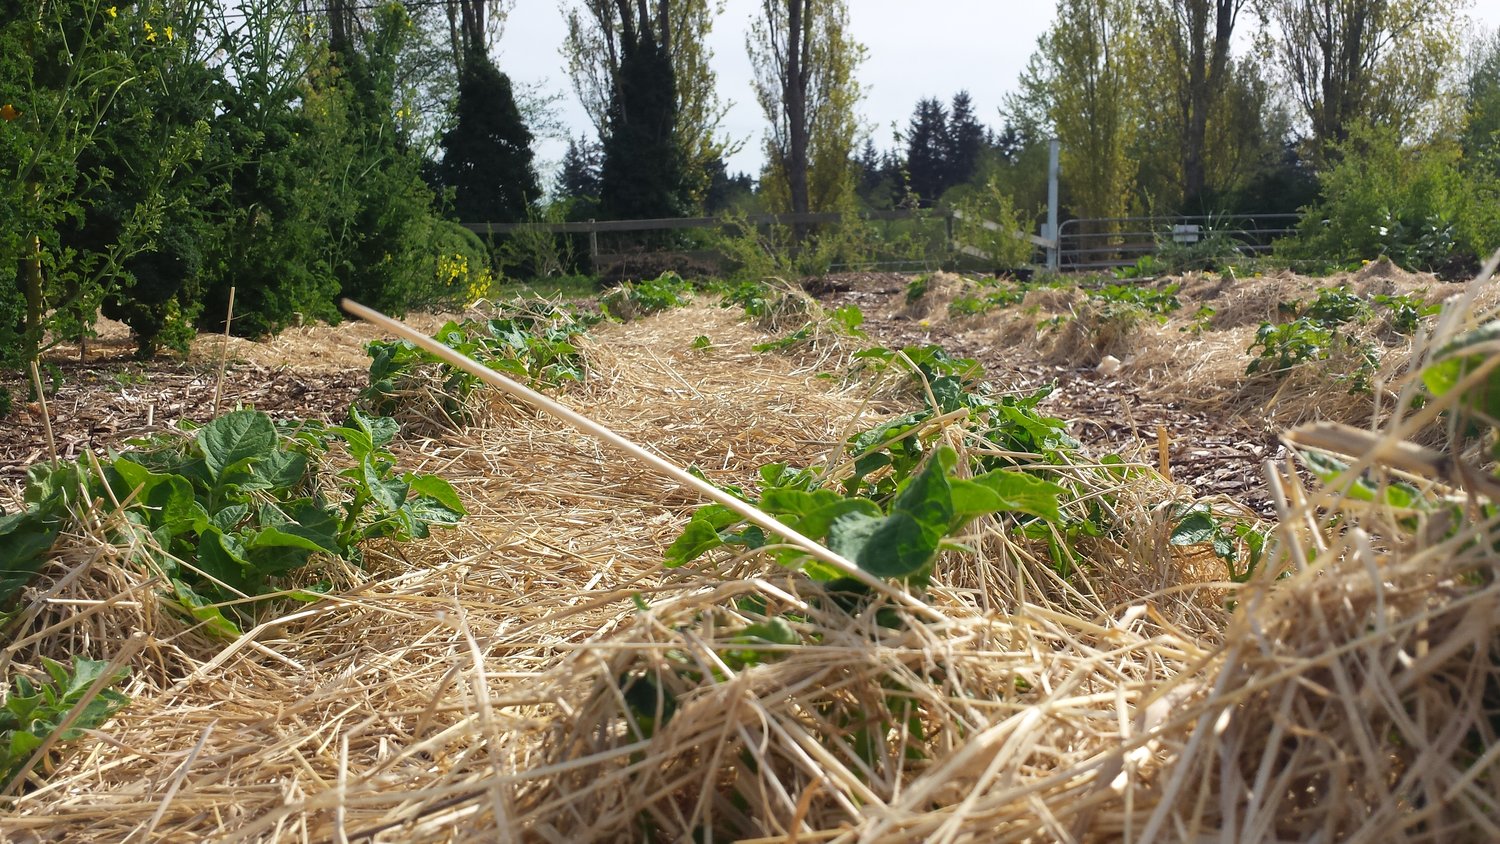
Compost and mulch work their magic better if used together. Basically, compost is what you mix into your soil, and mulch is what you lay on top of it. Compost is packed with nutrients like nitrogen, phosphorus, and potassium. It also has plenty of the trace minerals left out of synthetic fertilizers, like iron, zinc, and manganese. Refreshing the mulch around your plants helps prevent erosion of your compost and rich topsoil, keeps nutrients in the ground, and protects plant roots from becoming exposed and susceptible to drying out or freezing.
Just as it’s important to apply compost and mulch when getting your garden beds ready for planting, it’s important to replenish these layers with every planting season. Both compost and mulch help keep moisture in the ground by increasing the amount of carbon-rich organic matter. Enriched soil offers plenty of nutrients to support plant growth and holds more water than mere dirt thanks to an open structure with plenty of space between soil particles to let in air and water. These favorable conditions make plants sturdier and more resilient, a big plus in these climate-challenged times.
Once you plant your garden take the time to add it to the Climate Victory Garden Map by Green America. I did and you should too. That way we can see the cumulative power of planting a garden to heal the planet.
So let’s grow some good food. It’s time.
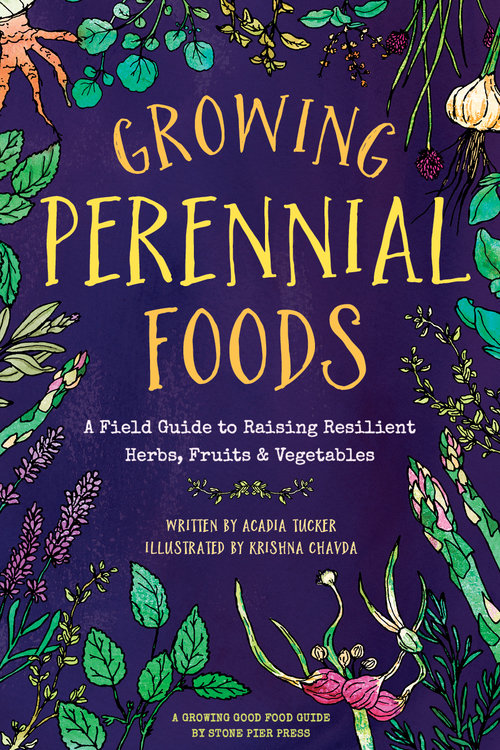
Acadia Tucker is a regenerative farmer and gardener and the author of Growing Perennial Foods: A field guide to raising resilient herbs, fruits, and vegetables and the upcoming Growing Good Food: A citizen’s guide to backyard carbon farming.
