Since we started this blog in 2012, our most popular post of all time has been How to Compost in Your Apartment, an infographic that breaks down how to start a vermicomposting bin. Hopefully it’s helped more than a few people launch worm bins at home and cut down on food waste going to landfills.
Since we launched that infographic, we’ve heard from a few beginners who’ve had some questions about their worm bins. So we gathered them in one place and went to an expert for help, experienced gardener and composter Jen Wendeln. Here’s how she troubleshoots a few common vermicomposting problems:
Vermicomposting is all about creating a balanced environment for your worms. Some beginners may run across the following concerns before hitting the mark.
My worm bin is too wet.
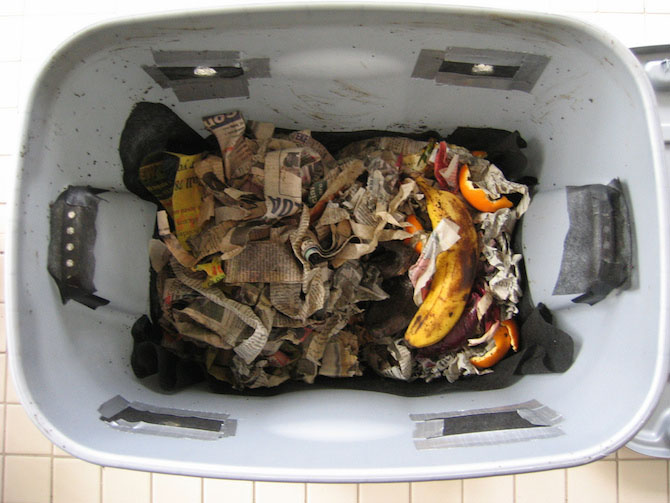
If your worm bin gets too wet it may cause the worms to drown and die. Make sure your worm bin has a dozen or more quarter-inch holes around the bottom or lower sides for proper aeration. You can also line the bottom of the bin with fabric to help catch extra moisture. Certain foods like fruits and vegetables high in moisture content can cause excess moisture. Cut down on high-moisture foods and add more dry bedding to help solve this problem.
If your bin gets too dry, on the other hand, try spritzing it with water from time to time.
My worm bin is attracting fruit flies.
Fruit that has already started rotting before being added to your worm bin can cause a fruit fly problem. Add fruit in small pieces so the worms can digest it before the fruit decomposes. Burying the fruit under the worms’ bedding or under a sheet of newspaper helps create a barrier, preventing flies. If you have an existing fruit fly problem and you’re able to take your bin outdoors, let it air out and release some of the flies.
Also, you can create a fruit fly trap with a bowl of apple cider vinegar and a drop of detergent. Set the bowl next to your bin, clean out the trap frequently, and add fresh vinegar and detergent to get rid of a fruit fly problem.
My worm bin smells.
No one wants a smelly worm bin, especially if you live in a small apartment. Most bad smells are caused by anaerobic bacteria. Good aeration is key in keeping odors down in the worm bin. Sometimes getting in and fluffing up the bedding can help keep things aerated. Too much moisture can also cause bad smells. Adding too much food before the worms are able to digest it can create a wet environment, so make sure you are feeding the worms the right ratio. Two pounds of worms can eat a pound of food a day. If you produce more scraps than your worms can digest, store extra scraps in the freezer. Also, make sure you aren’t adding meat, bones, dairy or oily products to the bin.

My worms are escaping.
If your worms are trying to escape or have escaped it means they aren’t happy with their environment. It could be too wet or dry, too much light, or not enough air. So if you created your own bin, again, be sure it has sufficient holes on the bottom or sides. Gluing screens over the holes ensures that contents and worms stay in the bin. Worm bedding should be moist but not soaking. If you squeeze the bedding, a few drops of water produced is OK, but it shouldn’t produce more than five drops of water.
How do I separate my worms and my worm castings?
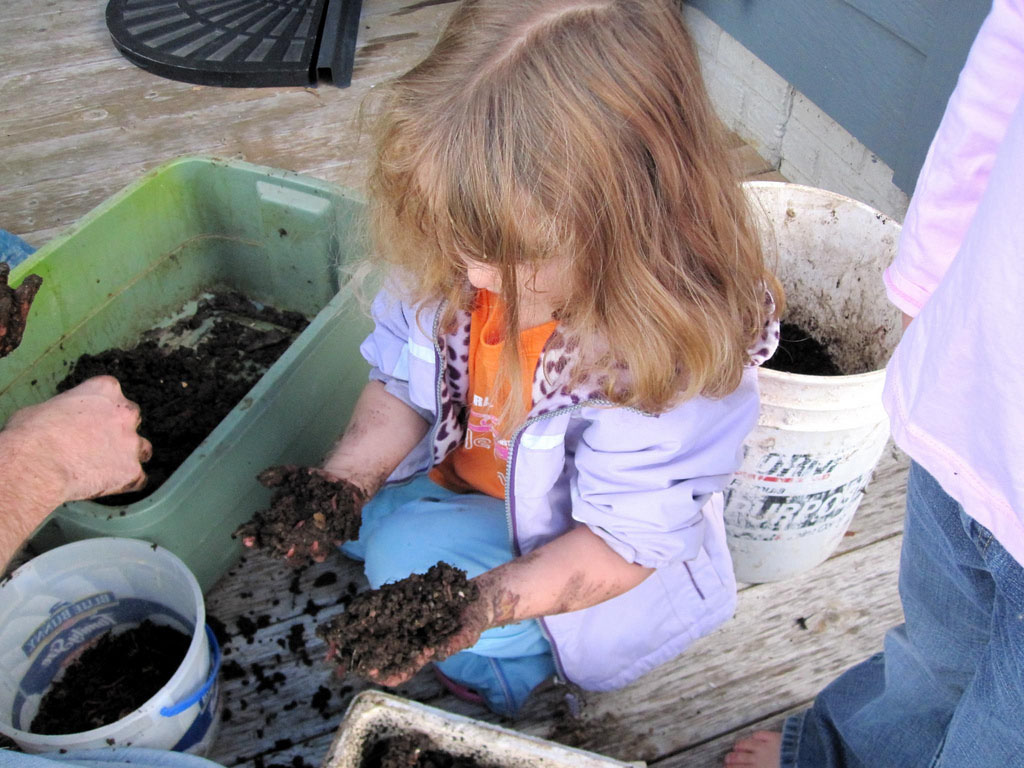
The time it takes to produce worm castings (aka worm poop) depends on your bin environment and number of worms, but in general the bedding should be changed and castings collected every four to six months. When it’s time to harvest your castings, move the bin’s contents to one side, add fresh bedding to the other side, and start adding food to the new bedding. Within a few weeks to a month most of the worms will have moved to the new bedding. Gather the contents from the other side and pile onto a sheet of plastic or newspaper. If there are worms left in the vermicompost they will move to the bottom of the pile to escape the sunlight. Scrape off the top layer of the pile and separate the castings from any bedding or leftover food scraps.

If my worms get loose into my garden, are they invasive?
Eisenia foetida, the best worm to use for vermicomposting, is native to Europe. Eisenia foetida does not live through the winter in northern climates. So if they do escape with your worm castings they won’t live that long through colder temperatures. Presently there is little concern for this species in other areas of the country, so a few escapees won’t do any harm. If you are concerned about the worms escaping, an easy way to eliminate them from your castings is to put them in a bag and freeze them for a week.
What if I can’t use all my vermicompost when I harvest it? Can I store it for later?
Yes, you can store vermicompost for later use. If your vermicompost feels damp, spread it out on a plastic sheet or newspaper and let it dry out until it has a crumbly texture and just a little moisture left. Store it in a cool, dry location in plastic bags or plastic containers with holes poked in them to ensure good air circulation. If stored in an airtight environment, it would kill off your vermicompost’s beneficial organisms.
Good luck with your worm bin! If you try this at home and have more questions, email them to info@sustainableamerica.org.
RELATED ARTICLES
How to Compost in Your Apartment
I Want to Compost, But…
Vermicomposting: How to Compost with Worms
Photo, middle: Kid Missile via Flickr
Photo, bottom: Joseph Bartmann via Flickr
